Tutorial: Acquiring Your First Company Assets
In this tutorial, you will learn how to purchase equipment for your company (like a car or a computer) and ensure it is tracked automatically as an asset.
Prerequisite
You should have recorded your initial capital injection (see Story One: Recording Initial Capital).
Scenario: Buying Office Computers
Imagine you are buying 5 high-performance computers for your new office from Paykar Tech Supplies for a total of 5,000,000 IQD.
Step 1: Create the Vendor Bill
Instead of just recording an expense, we will use a Vendor Bill to create the asset.

- Navigate to Accounting → Purchases → Vendor Bills.
- Click Create.
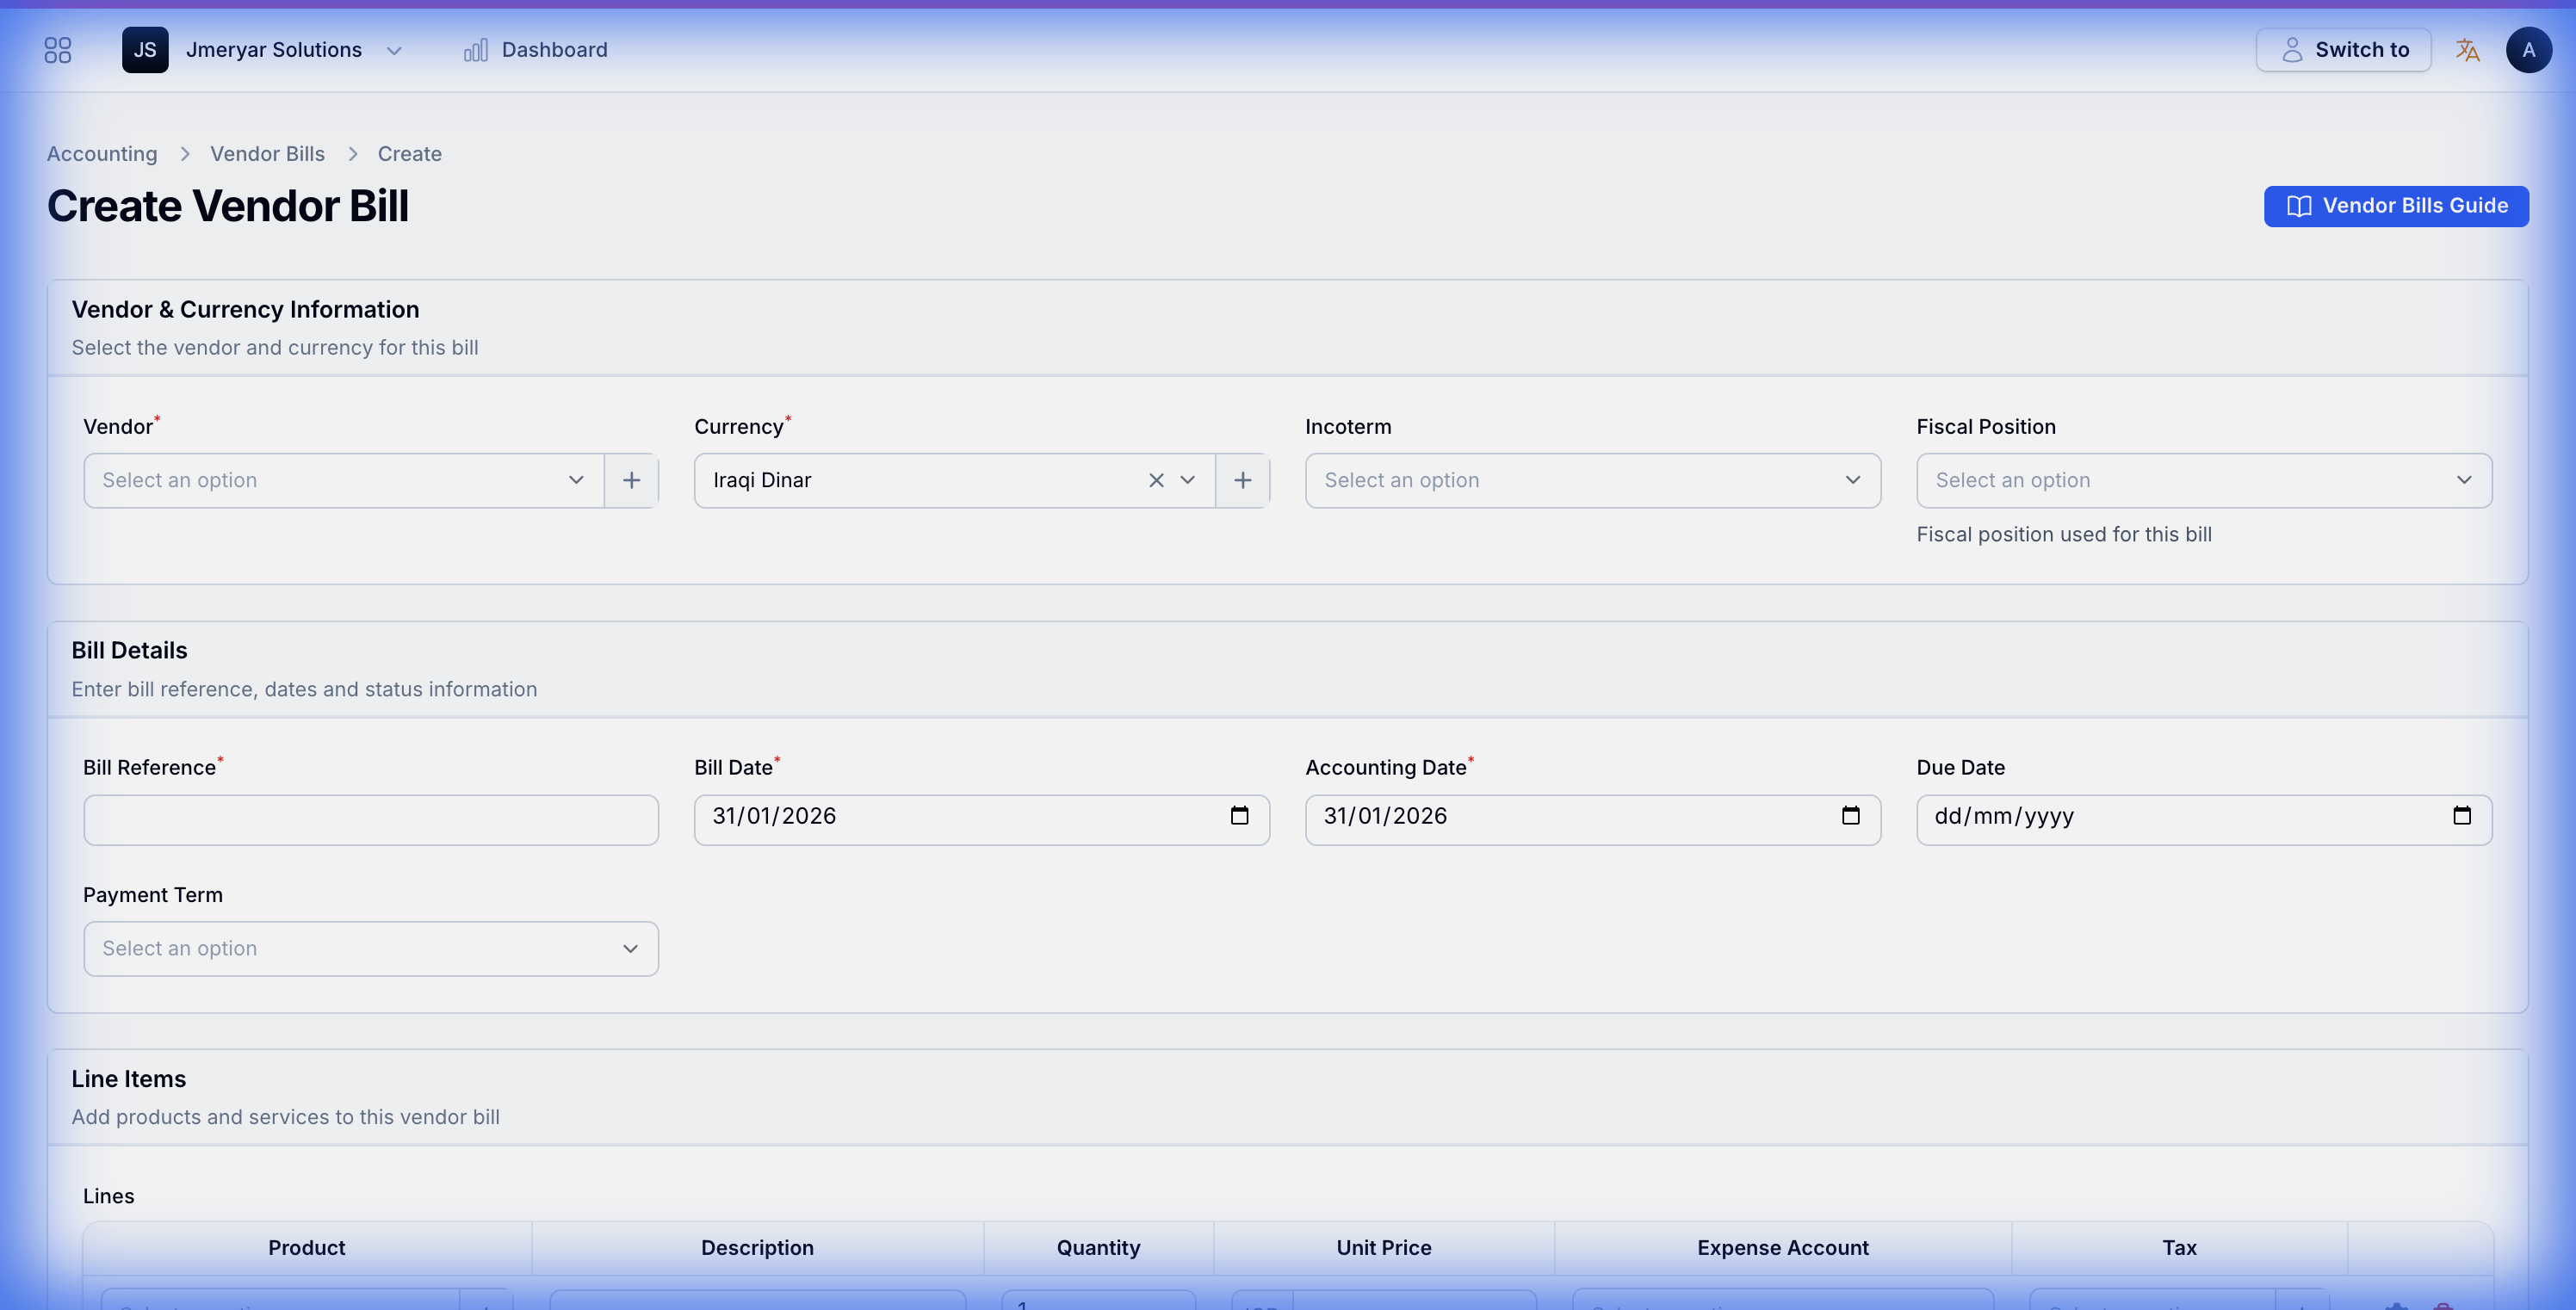
- Select Paykar Tech Supplies as the Vendor.
- Enter a Bill Reference (e.g.,
INV-2026-001).
Step 2: Configure the Asset Category
Before adding the computers, we need a "template" that tells the system how to handle them.
- In the Line Items section, click Add to lines.
- Click the gear icon (Settings) on the line item to open the Advanced Settings.
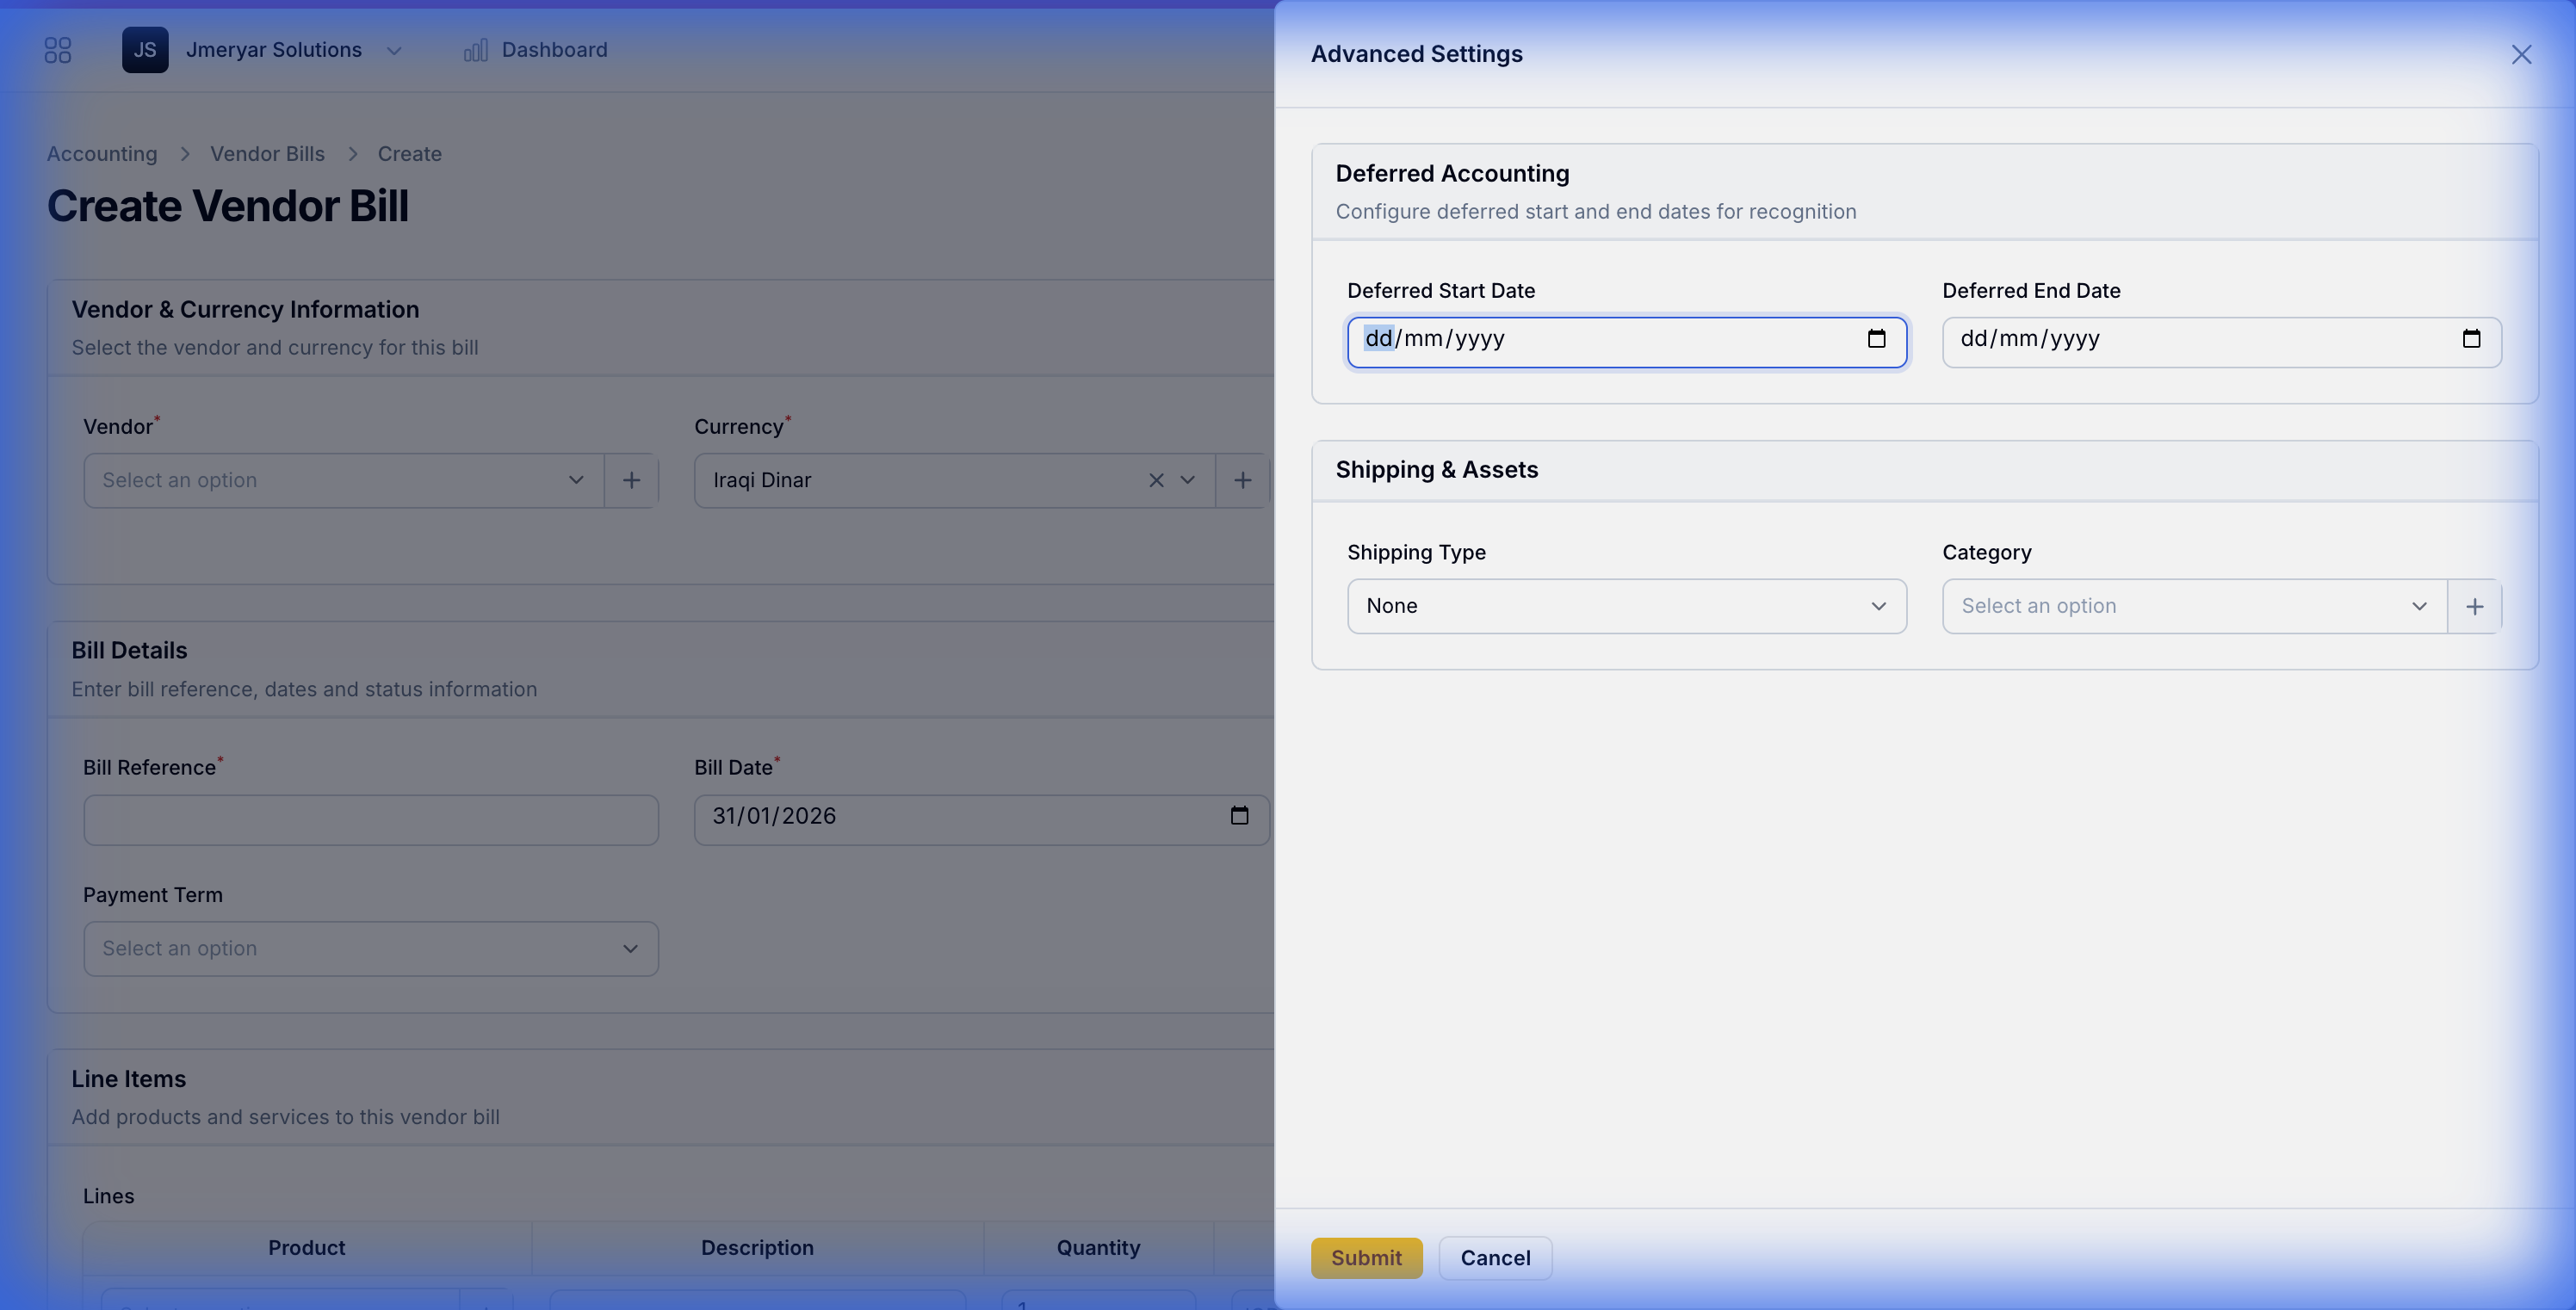
- In the Shipping & Assets section, click the "+" button next to Category to create a new category.
- Fill in the details:
- Category Name:
Office Electronics - Asset Account:
Office Equipment(Balance Sheet) - Useful Life:
3years - Depreciation Method:
Straight Line
- Category Name:
- Click Create.
Step 3: Complete the Purchase
- Enter the Quantity (5) and Unit Price (1,000,000 IQD).
- Ensure the Category you just created is selected.
- Click the yellow Create button at the bottom to save the draft.
- Review the totals and click Post.
Step 4: Verify the Asset
Now, let's see the result of your work!
- Navigate to Accounting → Assets.
- You will see a new record named after your bill line (e.g., "High-Performance Office Computers").
- Click on it to see the Depreciation Schedule—the system has already calculated exactly how much value this asset will lose every year for the next 3 years!
What did we achieve?
By using this workflow, you didn't just record a payment; you created a permanent record of a company resource that will be automatically managed by the ERP for years to come.
Next Steps:
- Learn the theory behind these numbers in Understanding Asset Management.
- Learn how to dispose of an asset when you sell it in the Fixed Assets How-to Guide.